
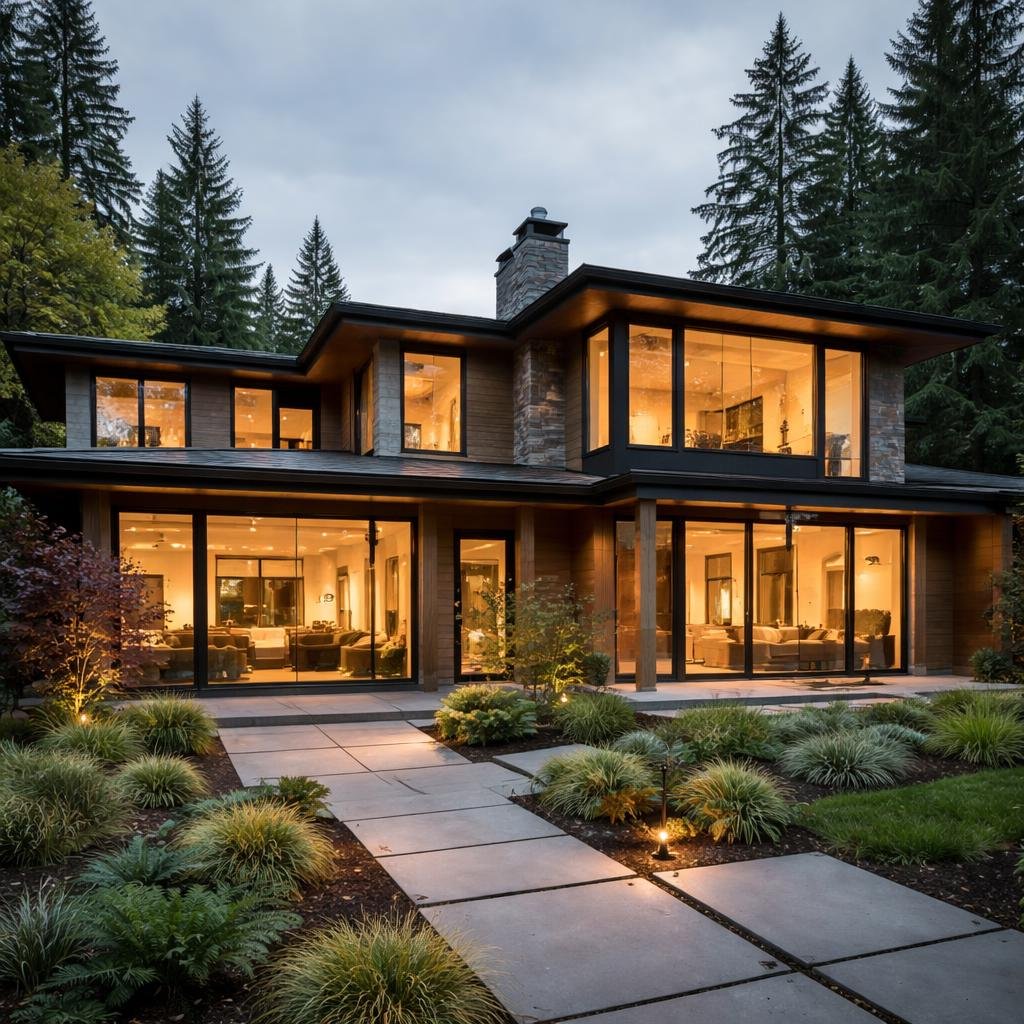
You’ve just bought a sloped lot in British Columbia, and you’re excited about building. But as you start sketching ideas, you realize the slope changes everything—your floor levels won’t sit neatly, your views might face the wrong direction, and you’re not sure how to position the house so it actually works with the land instead of against it. Before you commit to a design or hire a builder, understanding how to design on a sloped lot will save you thousands in rework and disappointment.
Why Slope Matters More Than You Think
A sloped lot isn’t a problem—it’s a design constraint that, when handled correctly, can become an asset. The slope determines where your foundation sits, how many levels you need, where your main entry lands, and whether you get natural light in basement spaces. Get it wrong at the design stage, and you’ll either overspend on foundation work, create awkward floor transitions, or waste views and light.
The first step is understanding your lot’s actual topography. This information comes from your property survey, which shows the elevation change across your land. When we work with homeowners on sloped sites, the survey is non-negotiable—it’s the map that tells you how steep the slope really is and in which direction it falls.
How Your Site Measure Reveals What’s Actually Possible
[[IMAGE1]]
Before any design work begins, our team conducts a detailed site measure. This goes beyond what the survey shows. We document existing trees, utilities, access points, sun exposure throughout the day, and how the slope actually feels when you stand on different parts of the property. On a sloped lot, this step is critical because it answers real questions: Where does the afternoon sun hit? Which direction offers views? Where is the slope steepest? Is there a natural building platform, or do you need to cut and fill significantly?
A site measure typically takes a few hours and costs a few hundred dollars. It’s one of the cheapest investments you can make, because it prevents design decisions based on assumptions rather than reality.
Orientation and Natural Light on Slopes
Slope direction matters enormously for orientation. A north-facing slope means you’re building uphill toward the north, which affects where your main living spaces catch light. A south-facing slope gives you different opportunities. On a sloped lot, you can’t simply position the house wherever you want—the slope constrains your building envelope, and your designer needs to work within those constraints while still maximizing light and views.
Our team considers how the slope influences daylighting at different times of year. A living area on the uphill side of the house may receive less direct sun in winter. A bedroom positioned on the downhill side might have excellent morning light. These decisions affect comfort, heating costs, and how livable different rooms feel.
Building Envelope and Setbacks on Sloped Terrain
Zoning setbacks and building envelope rules still apply on sloped lots—but they’re interpreted based on where the grade sits. Most municipalities measure setbacks from the property line at ground level, but on a slope, “ground level” is different at different points. Some municipalities have specific rules for how setbacks apply on slopes. You’ll need to confirm your local requirements, because they vary significantly across BC communities.
The building envelope—the three-dimensional space where you’re legally allowed to build—becomes more complex on a slope. A house that fits perfectly on a flat lot might violate height limits when built on a slope, or it might sit awkwardly with portions on stilts or over-excavated foundations. Our team works through these constraints during the design phase, before you pay for permit drawings.
Foundation and Floor Level Strategy
Sloped lots typically offer choices about how to handle the foundation:
- Build into the slope with a walkout basement on the downhill side, creating usable below-grade space
- Elevate the main structure on posts or pillars, leaving the steep grade open underneath
- Cut and fill to create a flatter building platform, which is expensive but simplifies construction
- Design multiple split levels that step down the slope, reducing foundation depth
Each approach has cost implications. A walkout basement adds foundation work but gains living space. Elevating the structure reduces excavation but creates exposed foundations and stairs. Split-level design distributes the slope across the house but complicates floor plan efficiency and material selection. There’s no universal “best” option—it depends on your budget, how steep your slope is, what your zoning allows, and what your site measure revealed about the terrain.
Why Designing Before Building Saves Money on Slopes
Many homeowners want to skip the design phase and go straight to a builder. On a sloped lot, this approach almost always leads to cost overruns. A builder working without a proper design will discover slope-related problems during construction, when changes are expensive. Permit drawings created without understanding the slope often get rejected, creating delays and redesign costs.
Our team designs on sloped lots by starting with the slope itself—not fighting it. We position the house to work with the natural topography, minimize excavation, maximize usable space, and create a design that flows naturally across level changes. This approach typically costs less to build and lives better once you’re in the house.
Before you commit to a budget or timeline, invest in understanding your sloped lot through a survey, site measure, and thoughtful design. It’s the foundation of everything that follows.
Leave a Reply